Guide to Google+ Business Page Creation and Badge Integration
Author & Editor
Founder & CEO
Published on: Nov 8, 2011 Updated on: Nov 14, 2023
Now that the Google Plus Page for business is out, it is always good that every online savvy business out there should create their pages NOW and integrate the Google+ badge to their websites.
How to create a Google Plus (Google+) Page for Business
1. Create your own Google+ Account first. (If you already have a Google+ account, you can skip this step)
Note: If your official business email is using the Google mail server, it is a lot easier to create the Google+ account using it. However; if you are using your own mail server then you need to create your Google account first so that you can create your Google+ account.
The You+ button can be found at the top left side of the Google.com home page.
See image below.
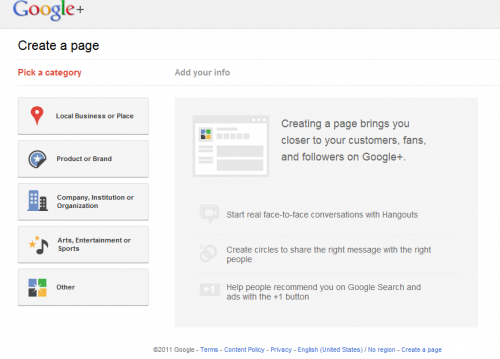
2. Once you have created your Google+ account, you can find the “Create Page” link at the footer part of your page. Click on it and start filling up your company/business information such as business description, website URL and a lot more. Start inviting other people to use/join your page. The Google+’s step by step instruction is like a walk in the park.
Note: Make sure you choose to make your Google+ Page visible to “anyone on the web” should you wish to maximize your business exposure through search and social via Google properties.
See screenshot below:
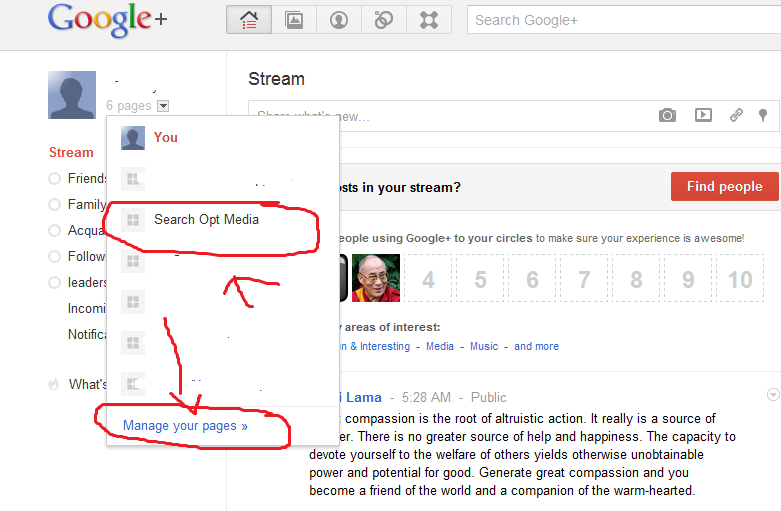
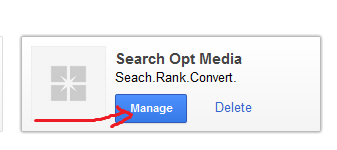
3. To manage your Google+ Page, you can click on the arrow just beside your Google+ account and click on the “manage your pages” link.
See below:
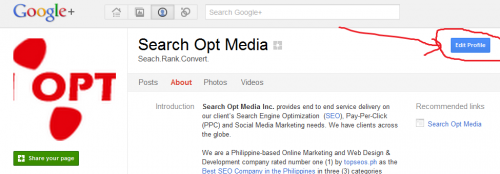
4. You can also edit your Google+ Page by clicking on the “edit profile” button.
5. After editing your Google+ Business Page, you can start using it like a Facebook Fan page.
Do you want to use the Google+ Badge on your website? Read further…
How to embed Google+ Badge on your website
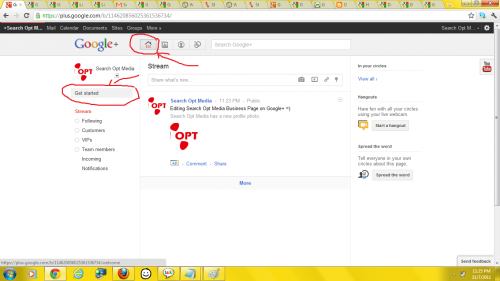
1. Click the “home icon” and click on the “Get Started” button.
See Image below:
![]()

